

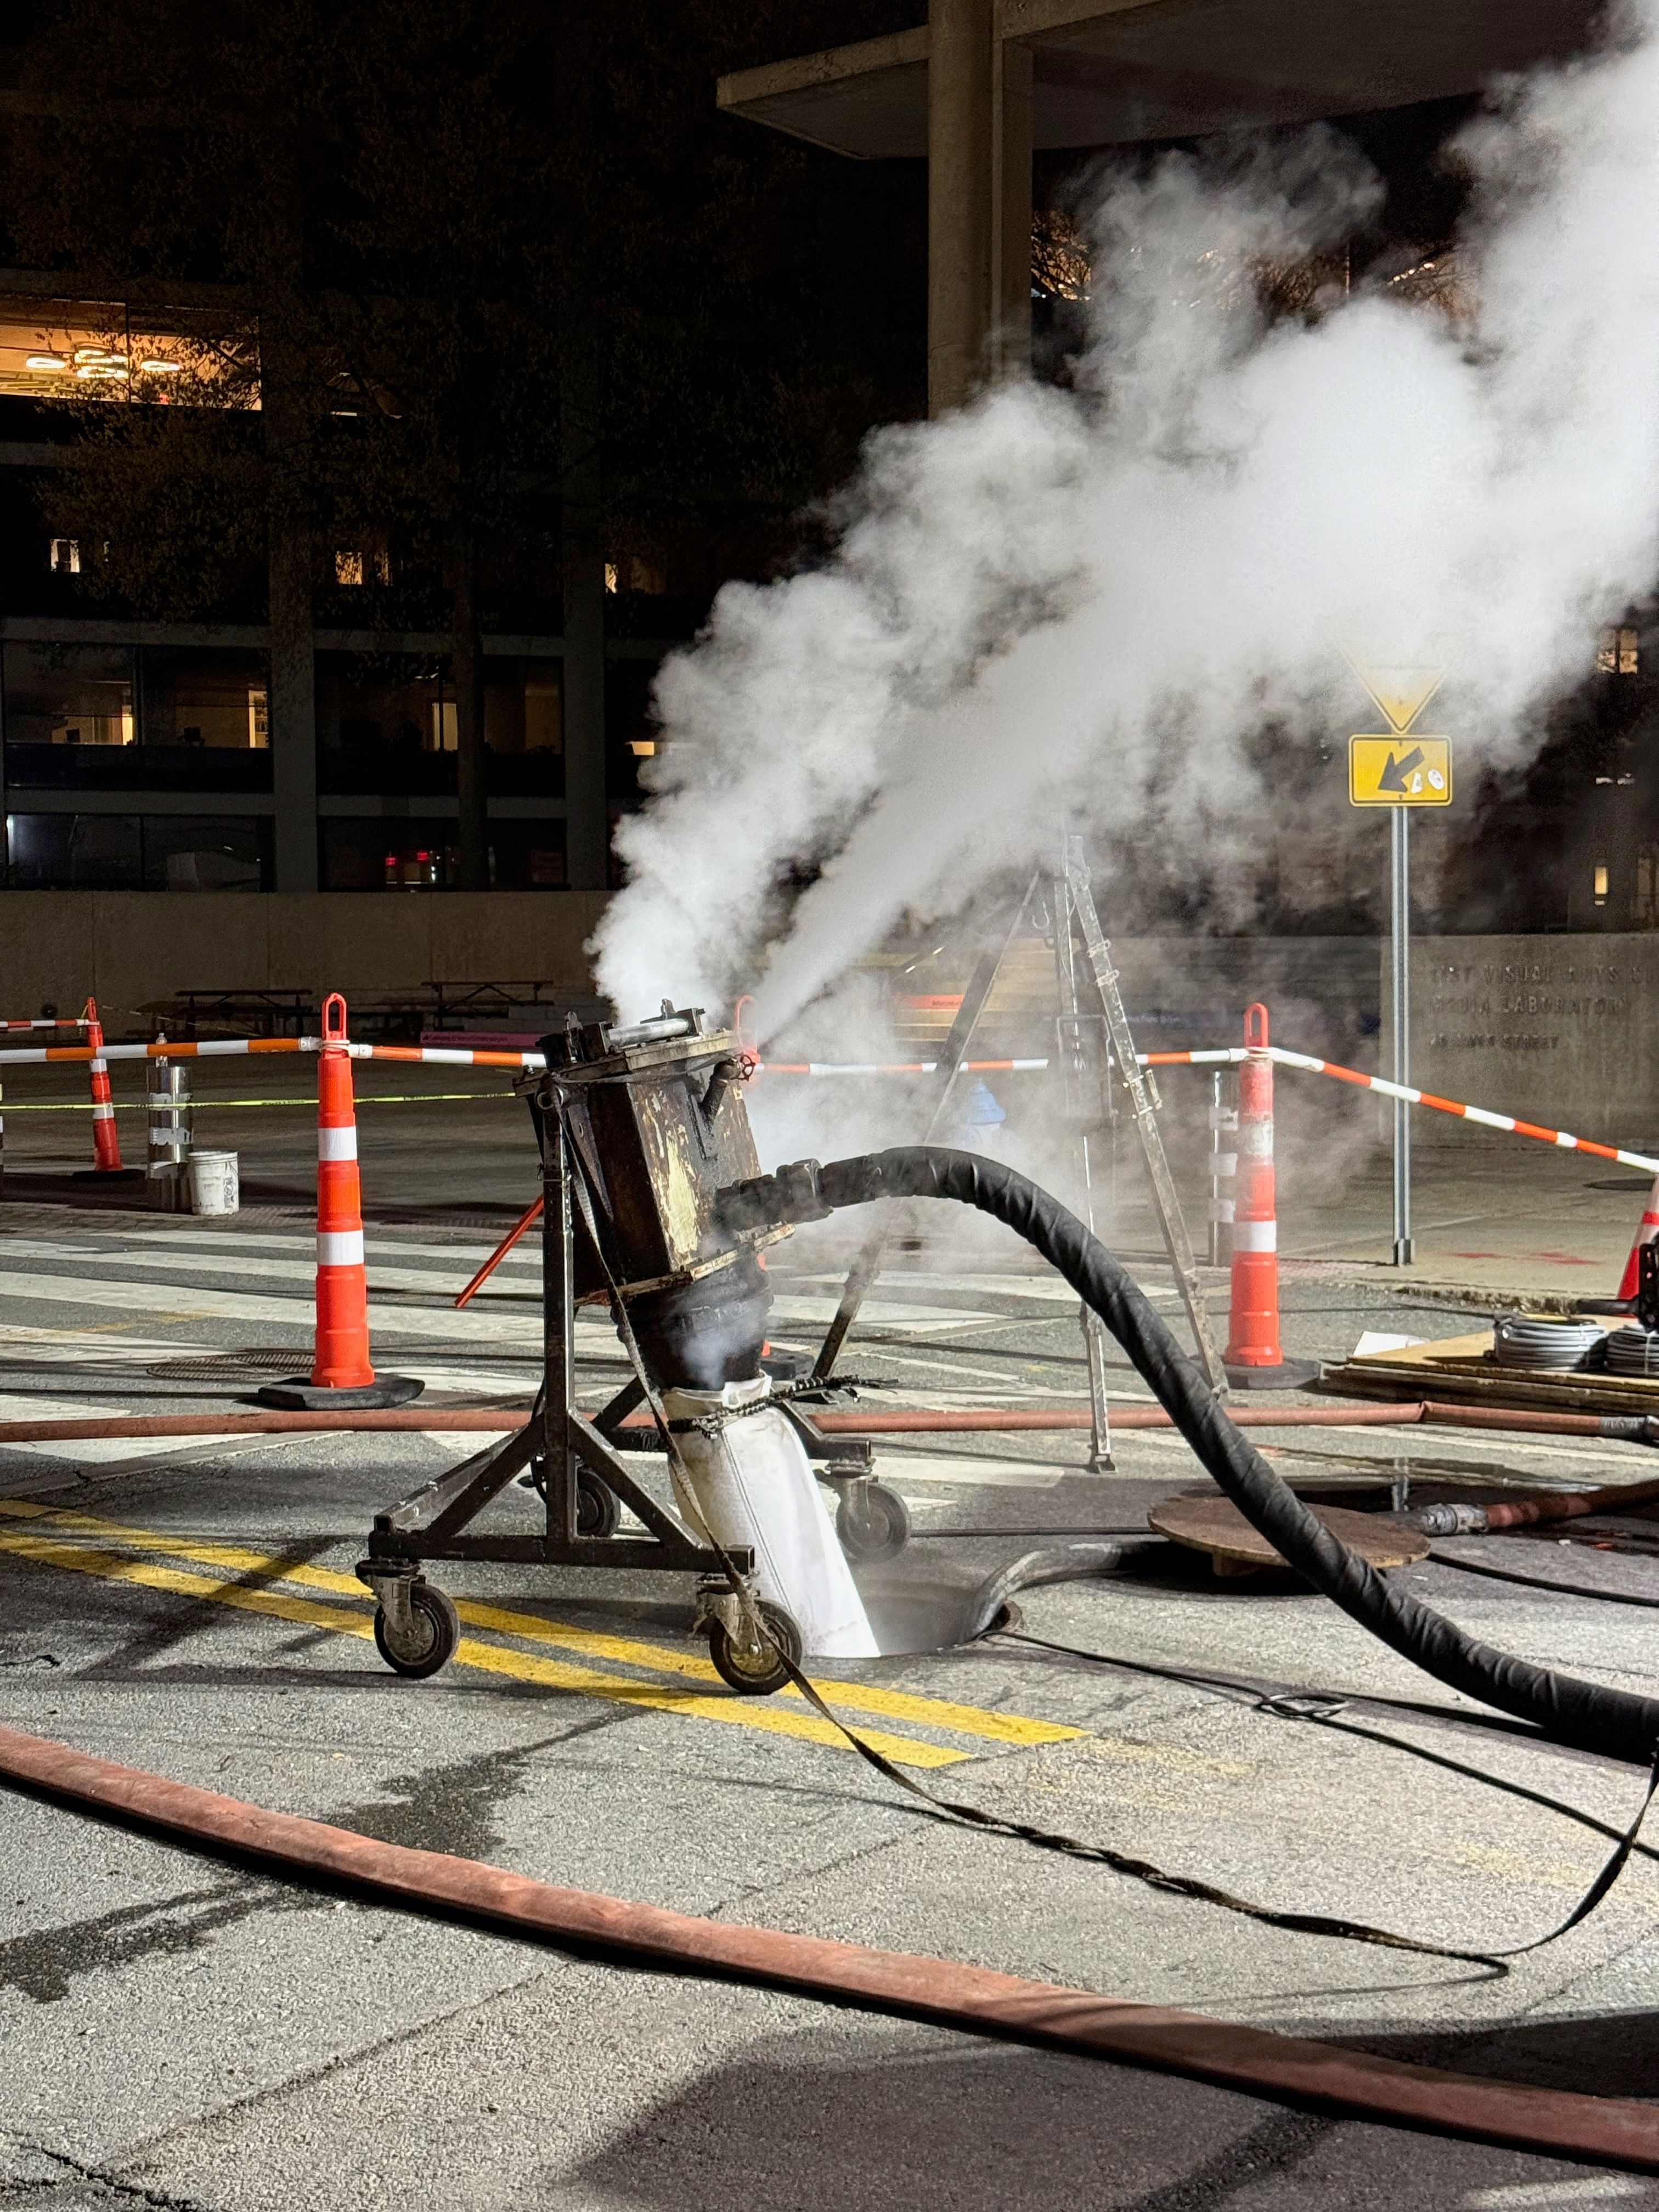
What Is CIPP Drain Relining?
CIPP stands for Cured-In-Place Pipe. It is the technology behind what’s commonly called “drain relining” or “no-dig pipe repair”, and it is the most widely used and proven trenchless pipe rehabilitation method in Australia.
The concept is straightforward: instead of digging up and replacing a damaged pipe, you install a new structural pipe inside the old one, from the inside, through the existing pipe bore. The new liner bonds to the inside of the old pipe, cures into a rigid structural material, and creates a new pipe that is smooth, joint-free, and root-resistant.
The host pipe (the old, damaged pipe) stays in the ground. It becomes the outer shell of the new pipe system.
CIPP isn’t the only trenchless option, pipe bursting is the other no-dig method, and it takes the opposite approach of fracturing the old pipe outward and pulling a brand-new pipe into its place. See our guide to pipe bursting vs relining for how the two compare and when each is the better fit.
Step 1: CCTV Inspection, See Before You Fix
No responsible drain relining company should recommend relining without first inspecting the pipe with a CCTV camera. Here’s what the inspection confirms:
What the camera shows:
- The location and severity of every defect (root intrusion, cracks, joint displacement, partial collapse)
- The pipe material (terracotta, PVC, cast iron, concrete, each has implications for liner selection)
- The pipe diameter (50mm branch lines up to 300mm and beyond for stormwater mains)
- The pipe layout, where junctions are, what length needs to be lined
- Access points, where the liner can be inserted without making new holes
What you receive: A written inspection report with footage. You understand what the problem is, where it is, and how severe it is before any work is recommended.
Step 2: High-Pressure Water Jetting, Clean the Pipe
Before the liner goes in, the pipe needs to be clean. High-pressure water jetting at 3,000-4,000 PSI:
- Cuts and flushes away root masses
- Removes grease, scale and sediment from pipe walls
- Clears any debris that accumulated from the blockage
- Prepares the pipe wall surface for liner adhesion
The cleaning step is critical, the epoxy resin bonds to the pipe wall, and contaminated or root-filled surfaces reduce the bond quality. Post-jetting, the pipe is re-inspected with CCTV to confirm the wall surface is ready. Where the camera shows heavier deposits, calcium scale, hardened grease or root tails left after the initial cut, jetting alone isn’t enough, a robotic milling pass is needed to bring the wall back to a clean, even surface before the liner goes in. See our guide to calcium and scale removal before lining for what that preparation step involves and when it’s required.
Step 3: Liner Selection and Preparation
The CIPP liner is a flexible tube, typically made of felt (non-woven polyester) or fibreglass, sized to the exact internal diameter of the host pipe. For a standard 100mm residential sewer pipe, the liner is 100mm in diameter and cut to the required length.
The liner is impregnated (“wetted out”) with a two-part thermosetting resin, typically epoxy or polyester. This process saturates the felt or fibreglass with liquid resin under controlled conditions.
Key liner specifications:
- Liner thickness: 4mm, 12mm depending on pipe diameter and structural load requirements. Thicker liner = more structural strength.
- Resin type: Epoxy (higher strength, better chemical resistance) or polyester (faster cure, lower cost)
- Liner length: Cut to the exact run being relined, from access point A to access point B
Once wetted out, the liner is time-limited, the resin begins to cure at ambient temperature. The liner needs to be installed and secured before ambient cure progresses.
Step 4: Liner Installation, Into the Pipe
The wetted liner is installed using one of two methods:
Inversion Method (Most Common for Residential)
The liner is literally turned inside-out (inverted) as it is pushed or pressure-driven into the host pipe. As it inverts, the resin face ends up on the outside of the liner, pressed against the host pipe wall. The inversion process:
- One end of the liner is attached to the inversion ring at the access point
- Air pressure or water pressure is applied, pushing the liner to turn inside-out and travel down the pipe
- As the liner inverts, it presses against the pipe wall under the inflation pressure
- When the liner has travelled the full length, it is fully inflated and pressing against the host pipe wall across the entire run
Pull-In-Place Method
A guide wire pre-installed through the pipe is used to pull the liner through the pipe bore. After the liner is in position:
- An inflation bladder inside the liner is inflated with air or water
- The bladder presses the liner outward against the host pipe wall
- The liner stays in position under inflation while it cures
Step 5: Cure, Turning Resin Into Structure
With the liner pressed against the host pipe wall, the resin needs to be hardened (cured) from a saturated liquid into a rigid structural material. Three cure methods are used:
UV Light Cure
A UV light train is pulled slowly through the inflated liner on a guide wire. The UV light initiates the polymerisation of the resin, hardening it from the inside out. UV cure typically takes 30-90 minutes for a standard residential run and produces a consistent, well-controlled result.
Advantages: Fast, consistent, no heat byproduct, controllable.
Steam Cure
Steam is introduced into the liner, raising the internal temperature to 60-90°C, which initiates and accelerates resin polymerisation. Steam cure typically takes 45-120 minutes.
Advantages: Effective for some liner types not compatible with UV, works in larger diameters.
Ambient Cure
Some resin formulations cure at ambient temperature (20-25°C) without external activation. Ambient cure takes several hours, the liner remains inflated and under pressure during the cure period.
Advantages: No specialised cure equipment required. Disadvantages: Slow, temperature-dependent (cold weather slows cure).
For a closer look at how these methods compare on speed, strength and cost, see our UV-cured vs ambient-cure liners guide.
Step 6: Robotic Junction Reinstatement
This is the step that makes CIPP relining genuinely trenchless. When the liner travels through the main pipe run, it covers any lateral connections (the branch lines where your kitchen drain, laundry, or second bathroom connect to the main line).
After cure, those junctions are sealed by the liner, no way for branch line wastewater to enter the main pipe.
A remote-controlled robotic cutter is then sent into the cured liner. Guided by a camera, the operator directs the cutting wheel to the exact position of each junction and cuts an opening in the liner, reinstating the connection from inside.
Result: The junction is fully open; the connection is sealed around the perimeter by the liner bond against the host pipe; there is no gap or unsealed edge for roots to re-enter.
This is different from a targeted junction repair, where the defect is isolated to the branch connection itself rather than spread along the main run. For that scenario a purpose-shaped patch liner is used instead of a full-length one. See our guide to junction patches and top-hat repairs for how that method works and when it’s the better fit. For a closer look at how the robotic cutting equipment locates and reopens each junction after the liner has cured, see our guide to robotic cutting and junction reinstatement. Bends along the run add a further variable to how the liner installs and cures, see our guide to relining through bends for how tight a bend a liner can actually negotiate.
Step 7: Post-Cure CCTV Inspection
After cure and robotic reinstatement, the camera goes through again. This confirms:
- The liner is fully adhered to the host pipe wall across the entire run (no bridging or voids)
- All junctions are correctly reinstated and fully open
- The liner bore is smooth and clear
- No wrinkles, folds, or installation defects
The post-cure CCTV footage becomes part of the job record and the warranty documentation.
What the Finished Product Looks Like
The completed CIPP liner is:
- Smooth and joint-free, the inner surface is the cured resin, much smoother than terracotta or concrete. This actually improves flow characteristics compared to the original pipe.
- Structurally independent, the liner can stand alone without the host pipe. If the old terracotta eventually crumbles around it, the liner remains a functional pipe.
- Root-proof, no joints means no entry points for root tips. The smooth epoxy surface offers no purchase for root growth.
- 50-year warranted, the liner product carries a 50-year structural warranty.
How Drain Relining Works FAQs
Q: How long does the whole process take? For a standard residential sewer line (10-15 metres, 100mm diameter), the full job from CCTV to post-cure inspection takes 7-9 hours, a single day.
Q: What happens to the old terracotta pipe? It stays in the ground. The liner bonds to its interior and the old pipe becomes the structural shell surrounding the liner. There’s no need to remove it.
Q: Does the liner reduce the pipe’s internal diameter? Slightly, a 4-6mm felt liner in a 100mm pipe reduces the internal diameter by approximately 8-12mm (the liner thickness at each side). The impact on flow capacity is negligible, in fact, the smooth bore of the epoxy liner often improves actual flow compared to the roughened interior of an old deteriorated terracotta pipe.
Q: What if the liner doesn’t cure correctly? Post-cure CCTV inspection identifies any cure issues. If sections are identified with inadequate cure or adhesion, they are addressed before the job is signed off. This is the value of the post-cure inspection step, it’s quality assurance for the product warranty.
Q: Is drain relining approved for use in NSW? CIPP drain relining is a standard, approved method of pipe rehabilitation used throughout Australia. It complies with relevant Australian Standards for drain relining and drainage works. It does not require specific council approval for use on private pipes in NSW. Full approval guide →